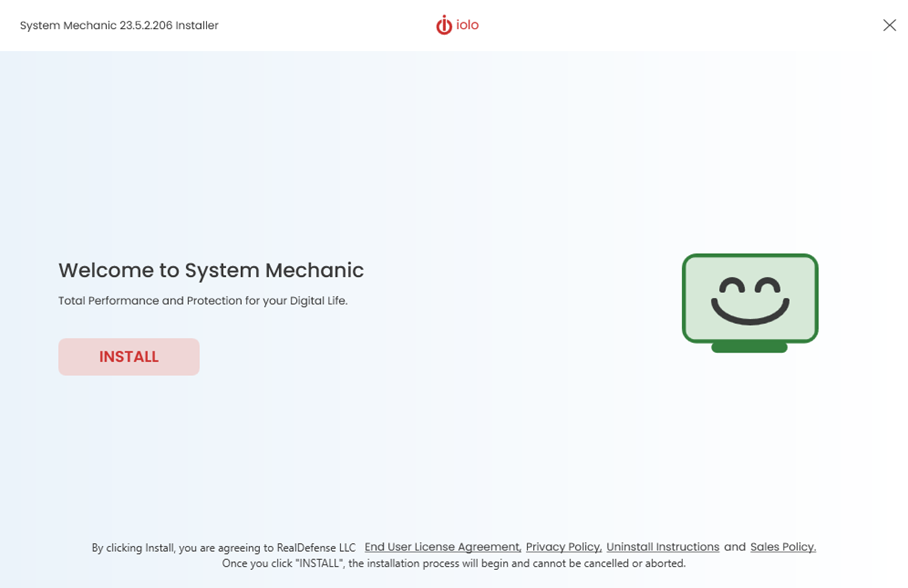
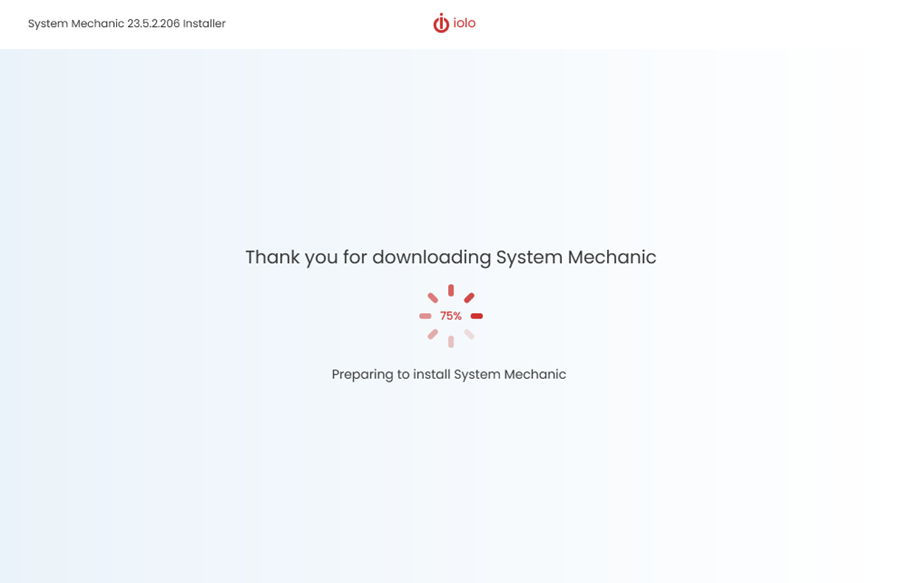
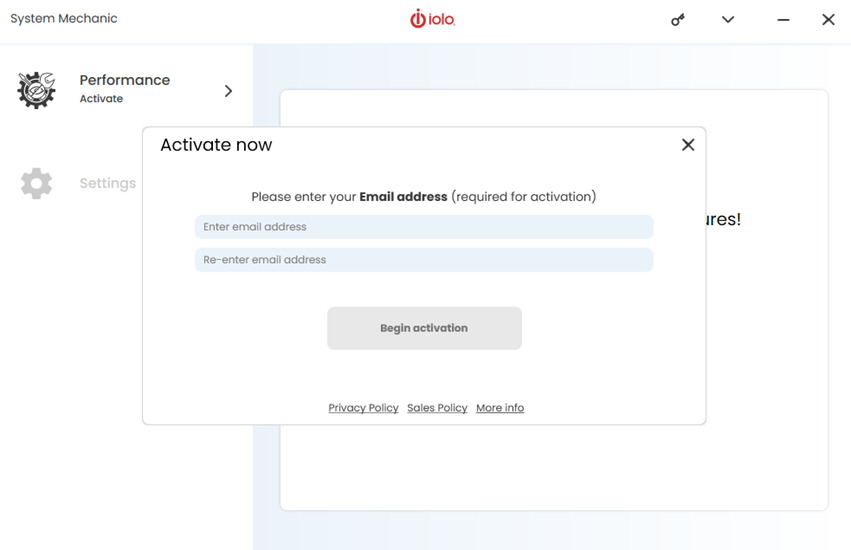
Welcome to System Mechanic

Product Support

1

Begin Installation

When the Installer starts, click on Install to begin installation of System Mechanic.

2

Complete Installation

System Mechanic will launch automatically after installation is complete.

3

Run System Mechanic

If System Mechanic does not start immediately after activation, double-click this desktop icon.

4

Activate Product

  • Enter the email address you provided during purchase, and click “Begin activation
  • You need to be connected to the Internet to activate and use System Mechanic

5

Perform System Analysis

Once System Mechanic has obtained and applied all critical updates, perform a System Analysis by clicking RUN SCAN.

6

Repair Problems

  • Click “FIX ISSUES” to automatically fix all issues found
  • If you need help, click the “˅” in the top-right area of the screen

7

Perform DEEPCLEAN

  • Click on “DEEPCLEAN” to analyze for further issues or click on “Close” to exit this option and return to the Main Performance Dashboard
  • Click on “START CLEAN” to follow it’s step-by-step instructions

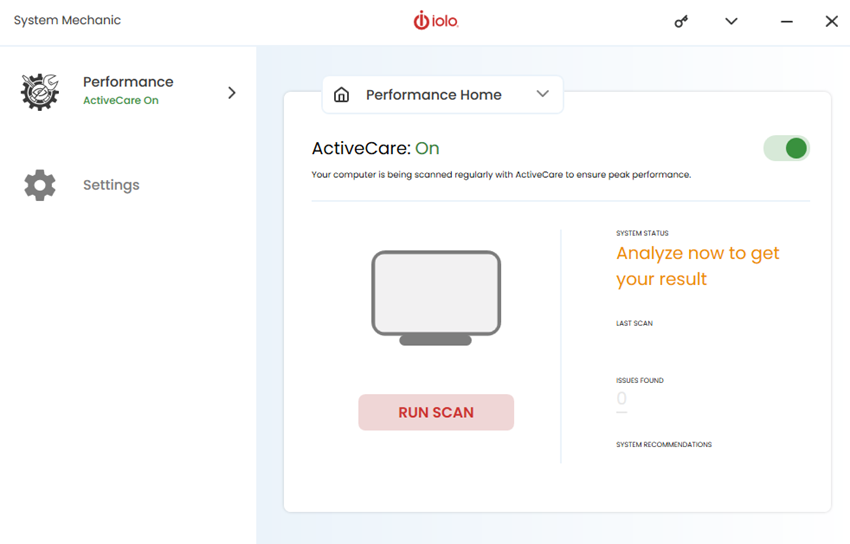
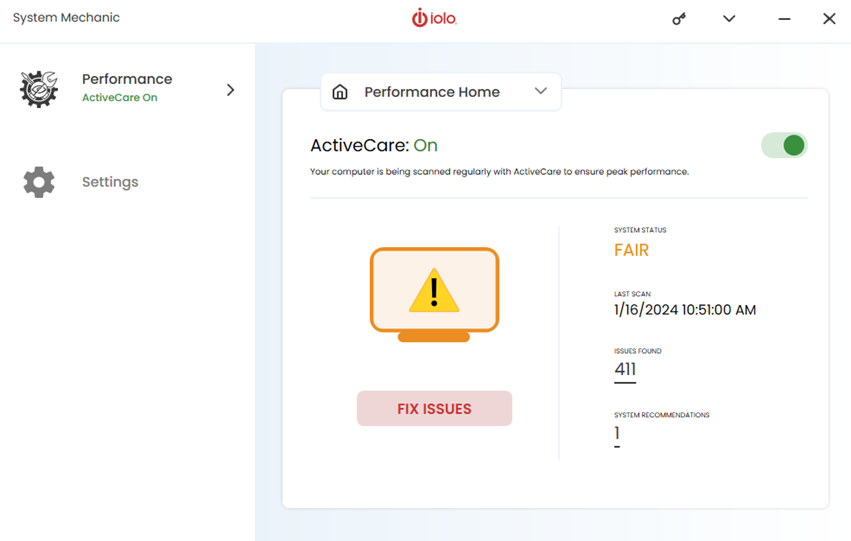
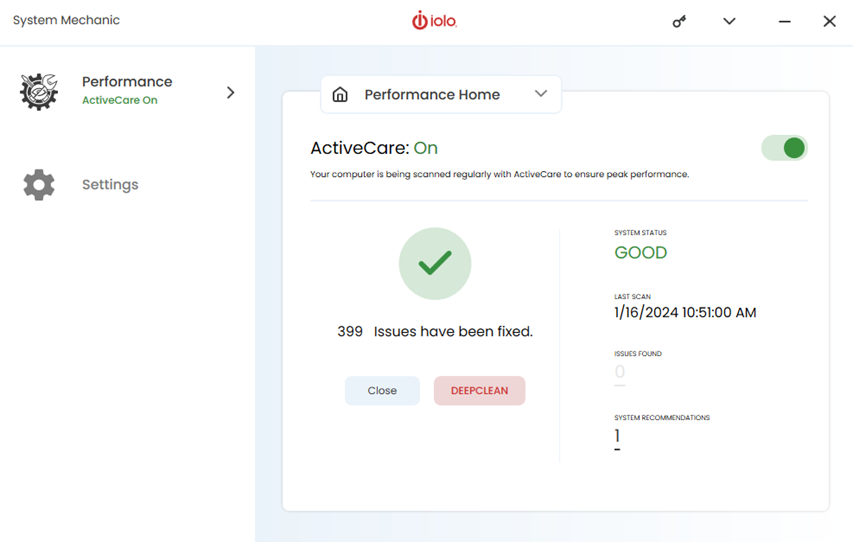
Performing regular maintenance on your PC with System Mechanic’s ActiveCare goes a long way toward keeping your computer running clean, fast, and error free.

What is ActiveCare

System Mechanic’s ActiveCare analyzes your system and runs common system cleanup and maintenance tools at regularly scheduled intervals, such as finding and removing junk files, cleaning the system registry, removing Internet clutter, getting rid of spyware, and defragmenting your hard drives.

ActiveCare works by monitoring key indicators of PC performance and then automatically running the repairs your computer needs, working silently in the background – only when your PC is on but not in use – and it only processes actions when they are needed. If you return to your computer during ActiveCare processing, you can either cancel the process or let it continue.

How to Access ActiveCare

ActiveCare is accessible by selecting Settings at the left in System Mechanic and then from the dropdown menu select Performance Settings.

From Performance Settings you can toggle items to enable or disable for the automated tasks and repairs.

The following tasks can be automated from this pane:

Clean out and repair registry issues
Removing obsolete and invalid references improves overall PC efficiency and stability.

Eliminate unnecessary or dangerous startup programs
This setting helps find non-critical applications that launch whenever your PC is started, slowing boot time and overall system speed. ActiveCare automatically maintains a running list of such programs and presents them for your review whenever you run a System Analysis.

Defragment system drive
Defragmenting hard drives regularly consolidates scattered file fragments for faster program launches and file access, as well as improved overall system speed and stability.

Remove internet junk files, private browsing data and more
Regularly cleaning out browser cache, cookies, and other types of accumulated internet junk will reclaim hard drive space, speed up your system and help maintain your privacy. Click the down arrow to the right of the toggle button to custom select which types of internet junk will be regularly cleaned out.

Remove Windows junk files, broken shortcuts and more
With regular PC usage, temporary files and other unneeded debris accumulate. It is recommended that excessive amounts of system clutter be deleted to reclaim disk space and speed overall processing. Click the down arrow to the right of the toggle button to custom select which file types will be regularly cleaned out by ActiveCare.

Cookies Whitelist
Allows you to exclude the removal of cookies that that help keep you logged in to your favorite websites and remember your shopping cart orders.

Other Settings
You can also specify a file removal method, allowing for Windows deletion of files or Incinerator, should it be installed, and you can specify junk file patterns to remove.

ActiveCare Scheduling

To specify the frequency for the automatic analysis and repair to run, from the Performance Settings area, select the dropdown menu under Frequency to select your scheduling preference. By default the frequency is set for 3 days but it can be set from every 3 hours to once a month, as well as Never.

We have found two issues that occur within Microsoft Windows that affect our family of System Mechanic products from properly starting.

Primary, is a Windows Update that has corrupted Windows Management Instrumentation (WMI), via Windows .Net Framework. Second, a WMI namespace gets unregistered during a Windows Update and needs to be reregistered.

STEP 1: Verify Windows WMI Related

The best way to start out verifying if this is WMI related is by simply going to the Windows Search, or command-line prompt, typing msinfo32, and clicking Enter. When the application window appears, if the window pane shows that it could not load, it is in fact a Windows (WMI) issue.

STEP 2: Verify Windows WMI Service Status

Navigate to Windows Services and check to make sure the Windows Management and Instrumentation Service is started.

If it is not, try to start it. If the service cannot start, none of the troubleshooting in this article will help and the customer will inevitably need to run a repair of Windows. If it is started proceed to step 2.


STEP 3: Repository Status and Repair

Check the consistency of the Windows repository and perform a salvage or repair if necessary.

Note: These commands must be run in the command console as Administrator

verify respository
“C:\windows\system32\wbem\winmgmt.exe” /verifyrepository

If inconsistent run the following commands verifying each time:

rebuild repository
“C:\windows\system32\wbem\winmgmt.exe” /salvagerepository

reset repository
“C:\windows\system32\wbem\winmgmt.exe” /resetrepository


STEP 4: Verify the root\default WMI namespace

Navigate to the Windows Control Panel > Administrative Tools > Computer Management > Services and Applications. Right click on WMI Control > Properties > Advanced tab.

Normally a default namespace will be shown. If not, register the namespace with the following command:

“C:\windows\system32\wbem\mofcomp.exe” CimWin32.mof

If none of the above works, run a repair with a Windows install disk. Operating System images are normally available on Microsoft’s website.

  1. From the Windows desktop search bar field type: control panel.
  2. In the match list click on Control Panel.
  3. From the list of Control Panel applets, click on Programs and Features. This will open a list of all installed software.
  4. Scroll down the list until you locate your installed iolo product.
  5. Double-click on the item or select it once and then click on Uninstall/Change. In a few seconds a product dialog will appear showing the uninstall process. The example below is for System Mechanic.

  6. Once the uninstall process has ended, click on the OK button. Your iolo product is now uninstalled and may require a restart of the computer if prompted.

Windows 10 Fall Creators Update introduced a new security feature named Controlled Folder Access as part of Windows Defender, which helps to protect valuable data. However, in some situations, to allow software to install, it may be necessary to manually whitelist an application or temporarily disable Controlled Folder Access.


Temporarily Disable Controlled Folder Access

Using the steps below will temporarily disable the Controlled Folder Access feature of Windows Defender in order to allow software to install.

  1. From the Windows taskbar select Start, the Settings cogwheel icon and then Update & Security.
  2. Select Windows Security and then Virus & threat protection.
  3. Alternatively, in the Cortana search field of the Windows taskbar type Virus & threat protection and click Enter.
  4. Select Virus & threat protection settings.
  5. Scroll down to Controlled folder access and select Manage Controlled folder access.
  6. Under Controlled folder access, click the toggle switch to Off and close the window.
  7. Close the Windows and reinstall your application.

NOTE: To re-enable Controlled Folder Access after installation completes, simply navigate the above steps again but in Step 5 toggle the switch back to On.


Temporarily whitelist the Windows Temp folder

Using the steps below will temporarily whitelist the Windows Temp folder location that our software uses for the purpose of installation. Software using the Windows Temp folder is by design of Microsoft and within the parameters of software installing the Windows environment.

  1. From the Windows taskbar select Start, the Settings cogwheel icon and then Update & Security.
  2. Select Windows Security and then Virus & threat protection.
  3. Alternatively, in the Cortana search field of the Windows taskbar type Virus & threat protection and click Enter.
  4. Select Virus & threat protection settings.
  5. Scroll down to Controlled folder access and select Manage Controlled folder access.
  6. Under Controlled folder access, click the toggle switch to On, if it is not already.
  7. Select Allow an app through Controlled folder access.
  8. Select Add an allowed app.
  9. Navigate to the location you want to add and click the Select folder button and add the folder locations:
    C:\Users\<YOURUSERPROFILE>\AppData\Local\Temp\iolo technologies

NOTE: To re-enable Controlled Folder Access after installation completes, simply navigate the above steps again but in Step 5 toggle the switch back to On.


Whitelist an Application

In the event that Controlled folder access in Windows Defender Security Center is blocking trusted software from further starting once installed, you can manually add the application to the list of safe or allowed software (whitelist) to prevent them from being blocked.

To locate and add the application you want to allow:

  1. From the Windows taskbar select Start, the Settings cogwheel icon and then Update & Security.
  2. Select Windows Security and then Virus & threat protection.
  3. Alternatively, in the Cortana search field of the Windows taskbar type Virus & threat protection and click Enter.
  4. Select Virus & threat protection settings.
  5. Scroll down to Controlled folder access and click on Manage Controlled folder access.
  6. Under Controlled folder access, click the toggle switch to On, if it is not already.
  7. Select Allow an app through Controlled folder access.
  8. Select Add an allowed app.
  9. Navigate the new location you want to add and click the Select folder button and, in turn, add the iolo software location below:
    C:\Program Files\iolo technologies\System Mechanic

Remove a Whitelisted Application

If you no longer want to allow previously whitelisted applications then you can use the same steps as above to remove them.

  1. From the Windows taskbar select Start, the Settings cogwheel icon and then Update & Security.
  2. Select Windows Security and then Virus & threat protection.
  3. Alternatively, in the Cortana search field of the Windows taskbar type Virus & threat protection and click Enter.
  4. Select Virus & threat protection settings.
  5. Scroll down to Controlled folder access and click on Manage Controlled folder access.
  6. Under Controlled folder access, select Allow an app through Controlled folder access.
  7. Select the application that you want to remove and select the Remove button.

Still need assistance?

What is iolo's Whole Home License?

The Whole Home License® is iolo’s licensing policy that allows you to install and keep your software running on all of your compatible devices within the same home. Previously, users were allowed to install and license their iolo software simultaneously on a maximum of three PCs. Under the Whole Home License, a single activation key allows you to use your iolo software on all of your PCs, other than any PCs you use for business purposes. What you need to know about Whole Home Licensing

  • You, your spouse, and your relatives living within the same household may use the same license on any number of PCs that you own which are not used for business.
  • For full legal terms and conditions, see https://www.iolo.com/company/legal/eula/

To install your iolo product on additional PCs:

  1. On the additional computer, download the latest version of your iolo product. Choose from the list of downloads offered here.
  2. Follow the steps in the installation wizard, and enter the same Activation Key that you used to install on your original computer.

You can view the Activation Key on the original computer from within System Mechanic > red menu bar > key icon > Activation Key.